DECORATING WITH PLATES
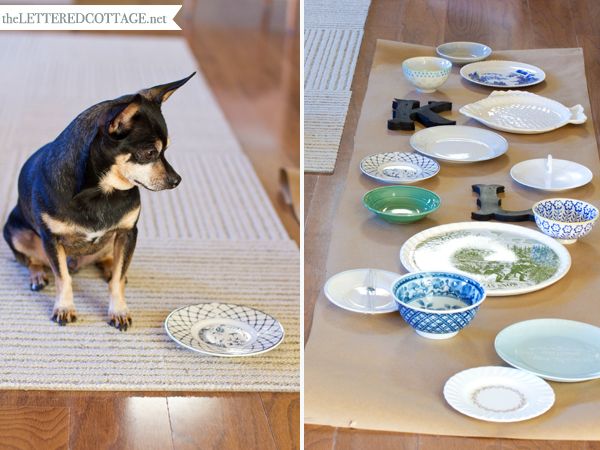
I love decorating with plates, and even though the ones in today’s post gave us a little trouble at first, I’m really happy with how the whole collection (eventually) came together.

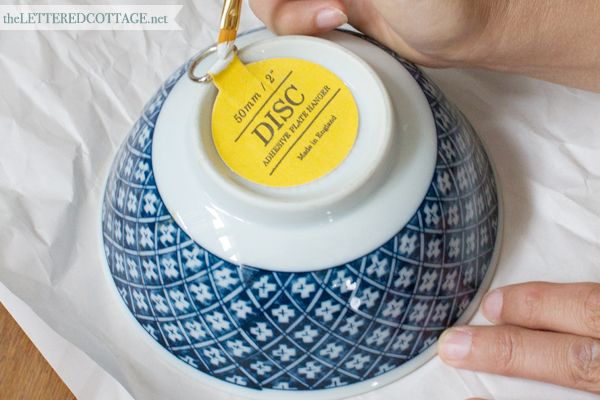
Let me start at the beginning. I thought I had them all laid out the way I liked them, so I attached Disc Hangers to the backs of them. I rolled out a long piece of brown Kraft paper, and used a pen to trace circles around them, and then drew a small circle where each Disc Hanger loop fell so I’d know where the nails should go into the wall.
After that, I recruited my darling hubby to make sure my template looked straight on the wall:
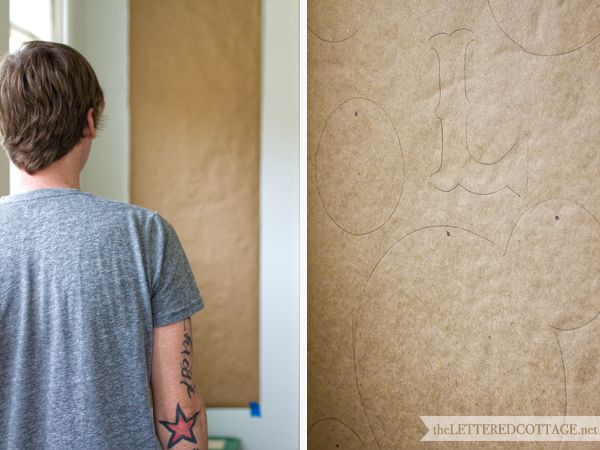
Next, I drove little white nails into all the dots I had drawn on the paper, and after that, I removed the paper from the wall and Kev secured our wooden initals (gifts from our friend, Shannan) directly to the wall…

Before we hung up the dishes, I tidied up some of our Disc Hangers with a little Gray Lake-colored paint so that the visible parts would match our walls:
Now this is where the story gets wacky. You’ll notice that bowl in the photo above didn’t make the final dish collection cut. Turns out what looks good on the floor, doesn’t always look right on the wall. It hit us during American Idol on Tuesday night. We were both sitting on the couch, watchin’ away, whenboom: we both felt like there was something off with our new “art” over yonder in the sunroom. It was too clutter-y, and too contrast-y, so I jumped up and started removing and rearranging. The next day I played around with it some more, and then sanded off the black paint on our wooden initials so they didn’t overpower the plates so much. The pattern we ended up going with is totally random, and yes, we had a handful of holes to patch and touch-up paint, but we’re really diggin’ it, and it’s fun to finally have something up on the walls in this place- ha!

Here’s a close up shot of how the Disc Hanger loops look when the plates are up on the wall:

As for our initials, we just pushed those back into place and I love how they “speak” to the color of the floor rug. I also love mixing finishes, and how there’s a really visible pop of rusticity amongst all those smooth, glossy plates now:

And speaking of plates, I have some favorites I want to show you. One has our wedding day on it:
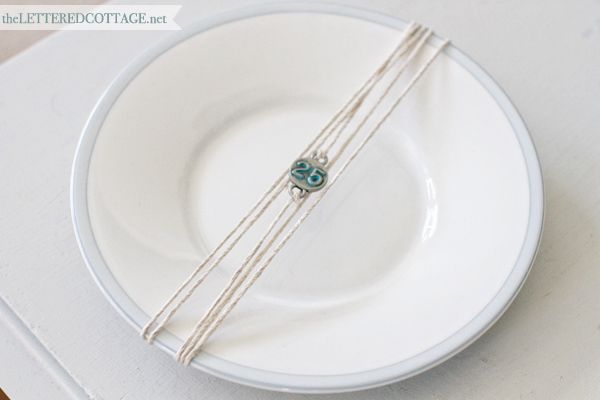
We were married on June 25, 2004- so, of course, I’m a sucker for all things 25. The charm and hemp string came from Hobby Lobby. I found them in the jewelry making section.

To create an “anniversary plate”, just wrapped some of the string through the loops on the charm, and then secured it to the back of the plate with a couple dabs of hot glue.
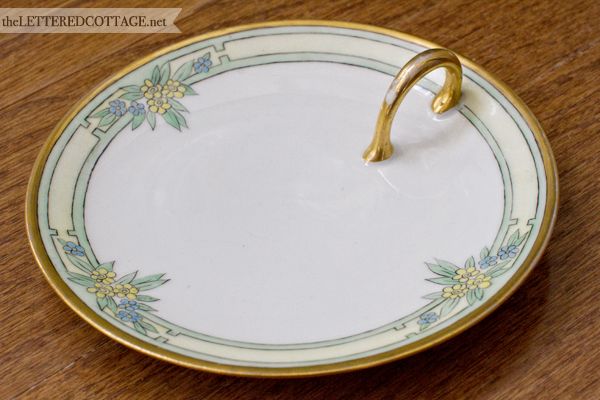
I’m a sucker for grass green, and the style of art on it sort of reminds me of toile (which I also love). It kind of has a Department 56 Snow Village vibe too, which reminds me of my mom because she’s been collecting pieces of it since I was a little girl. Last but not least, don’t even get me started on that scalloped edge. #LUSCIOUS
The last plate I want to show you is the one we hung up for our Sweet P. I picked it up for $1 at a local flea market, and it started out like this…
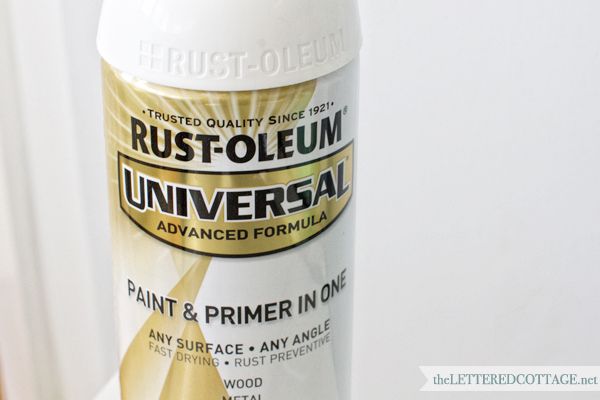
I thought it was kinda cute as is, but we decided to give it a few coats of glossy white spray paint…
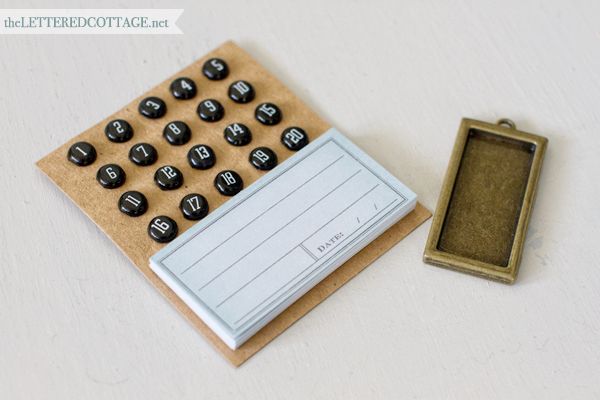
…and finish it off with a few little embellishments (also from Hobby Lobby):
Here it is now:

We’re going to fill in the date line with our adoption “gotcha day”, and then we’ll write Sweet P’s name on the line above it. *Squee!* I get so giddy thinking about all the little letters and numbers that’ll eventually be written on that charm!
No comments:
Post a Comment